As a professional photographer and artist, you know that getting the perfect print can be just as important as capturing the perfect shot. The Canon Pro 4600 is a powerhouse when it comes to professional printing, but like any sophisticated piece of equipment, it has its quirks and best practices. In this article, I’ll share some tips and tricks to help you get the most out of your Canon Pro 4600, based on my years of experience in the photographic printing world.
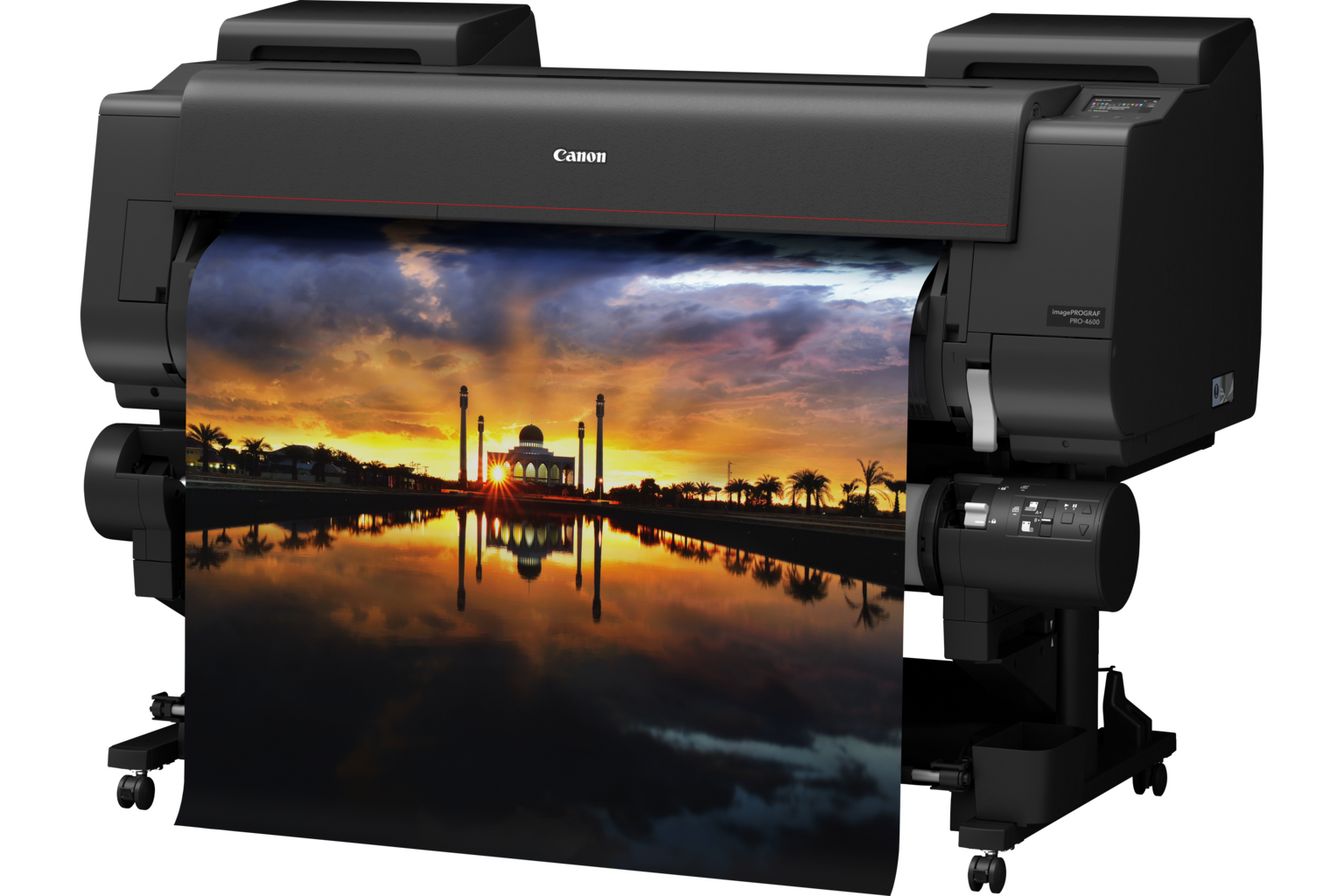
The Canon Pro 4600 is a beast of a printer, designed with professionals in mind. It’s packed with features that make it ideal for high-quality photo and art prints. From its impressive resolution to its wide color gamut, this printer has everything you need to bring your digital creations to life.
One of the standout features of the Canon Pro 4600 is its resolution. With the ability to print at up to 2400 x 1200 dpi, your images will come out crisp and detailed. Additionally, the 12-color LUCIA PRO ink system ensures that your prints will have a vibrant and accurate color representation. The printer can handle a variety of media types and sizes, making it versatile for different printing needs.

One of the first things you need to get right is color management. Trust me, there’s nothing more frustrating than spending hours editing a photo, only to have it look completely different in print.
Tip: Use ICC profiles specific to your paper type. Canon provides profiles for their own papers, but you can find profiles for other brands as well. Calibrate your monitor regularly using a hardware calibrator. This ensures that what you see on your screen matches what you get on paper.
Personal Anecdote: I remember my early days of printing when I didn’t understand the importance of color management. I spent a whole weekend editing a series of photos for an exhibition, only to find that the colors were all off when I printed them. After that disaster, I invested in a good monitor calibrator and started using ICC profiles. It made all the difference!
When it comes to file formats, not all are created equal. For the best results, stick with TIFF or PSD files. These formats retain the most detail and color information, unlike JPEGs which can introduce compression artifacts.
Personal Anecdote: I remember the first time I printed a large format photo in JPEG. It looked great on my screen, but when it came out of the printer, the colors were off and there were weird artifacts in the shadows. Switching to TIFF solved all those issues.
For high-quality prints, you want to make sure your images are at the correct resolution. Aim for 300 DPI at the size you intend to print. This ensures that your prints are sharp and detailed.
Tip: If you’re printing a large banner or a poster, you might get away with a lower DPI, but for fine art prints and photographs, stick with 300 DPI for the best results.
Setting up your Canon Pro 4600 correctly from the start can save you a lot of headaches down the line. Make sure you follow the setup guide carefully, especially when installing the print heads and ink cartridges.
Tip: Take your time during the initial setup. Rushing through it might lead to missed steps that could affect print quality later on.
Calibration is key to consistent print quality. Use the built-in calibration tool to ensure that your Canon Pro 4600 is properly aligned and that the colors are accurate.
Tip: Run a calibration every time you change a significant component, like the print head or paper type. This keeps everything in sync.
Personal Anecdote: I once ignored the calibration step after changing my paper type, thinking it wouldn’t make much of a difference. The resulting prints were so off that I had to redo the entire batch. Now, I make sure to calibrate every time there’s a change.
Keeping your Canon Pro 4600 clean and well-maintained is crucial. Regularly check for dust and debris in the print path and clean the print heads as needed. This prevents clogs and ensures smooth operation.
Personal Anecdote: I once had a major print job ruined because I neglected to clean the print heads. The result was streaky prints that I had to redo. Now, regular maintenance is part of my routine.
The type of paper you use can significantly affect the final print quality. For photos, glossy or luster papers are often preferred because they enhance the colors and details. For art prints, consider using fine art papers or canvas for a more textured look.
Tip: Experiment with different paper types to see what works best for your style. Each type of paper will interact with the ink differently, giving you unique results.
Personal Anecdote: I once printed a landscape photo on a glossy paper and wasn’t satisfied with the look. Then I tried it on a textured fine art paper, and the result was stunning. It added depth and character to the image.
The Canon Pro 4600 uses the LUCIA PRO ink system, which is designed for professional-grade prints. Stick with genuine Canon inks to ensure the best color accuracy and longevity.
Tip: Don’t be tempted by cheaper, third-party inks. They might save you money upfront, but they can compromise print quality and longevity.
Proper storage of your paper and ink can prolong their shelf life. Keep them in a cool, dry place away from direct sunlight. For paper, store it flat to prevent curling.
Tip: Use airtight containers for storing ink cartridges to prevent them from drying out.
Soft proofing is a technique where you simulate the print on your screen before actually printing it. This helps you make necessary adjustments to ensure the final print looks as you intended.
Tip: Use your editing software’s soft proofing feature and select the ICC profile for your paper. This gives you a more accurate preview of how the print will turn out.
Personal Anecdote: Soft proofing has saved me countless times. I once had a client who wanted very specific colors in their prints. By soft proofing, I was able to adjust the colors before printing, ensuring the client was happy with the result.
Sharpening your images specifically for print is different from sharpening for the web. Over-sharpening can cause halos and artifacts, so use a gentle touch.
Tip: Apply sharpening as the final step in your editing process, and always preview it at the actual print size.
Personal Anecdote: I used to sharpen my images a lot for online viewing, and I applied the same settings for print. The result was overly sharp prints that didn’t look natural. Now, I use a more subtle approach, and my prints look much better.
Borderless printing can give your prints a polished, professional look. However, it requires precise settings to avoid any unwanted borders or cropping.
Tip: Use the printer driver’s borderless print settings and make sure your image is slightly larger than the paper size to account for any bleed.
Personal Anecdote: I love borderless prints for my landscape photos. The first time I tried it, I didn’t adjust the image size, and it cropped out some important details. Now I always make sure to extend the image slightly beyond the paper size.
If your prints aren’t matching what you see on your screen, it could be a color management issue. Double-check your ICC profiles and monitor calibration.
Tip: Sometimes updating your printer driver can also solve unexpected color issues.
Banding and streaks can be caused by clogged print heads or incorrect settings. Regular maintenance and proper calibration can help prevent these issues.
Tip: If you notice banding, try running a cleaning cycle on your printer. It often clears up the issue.
Paper jams are a common issue but can be minimized by using the correct paper type and ensuring it’s loaded properly.
Personal Anecdote: I once had a print job delayed because of a persistent paper jam. After some trial and error, I realized I was using a paper that was too thick for the settings I had selected. Lesson learned: always check your paper settings!
Printing multiple images in one go can save you time. Use the printer’s software to queue up your prints and manage them efficiently.
Tip: Set up your images in a single file with multiple layers if you’re using Photoshop. This way, you can print them all at once.
Properly archiving your prints ensures they last for years. Use archival-quality materials and store them in a cool, dry place.
Tip: Use acid-free paper and storage boxes to prevent degradation over time.
There are several software tools available that can enhance your print workflow. Lightroom and Photoshop are great for image adjustments and soft proofing, while Canon’s Print Studio Pro offers advanced print settings.
Tip: Explore different software options to see which ones best fit your workflow and printing needs.
Printing with the Canon Pro 4600 can be a rewarding experience when you know how to get the best out of it. From preparing your images to choosing the right paper and maintaining your printer, each step is crucial in achieving professional-quality prints. Experiment, learn, and most importantly, enjoy the process. Happy printing!